Key takeaways
- Clean, repair, sand, prime: in that order.
- Flaws show more under a glossy finish.
- Protect floors and furniture before you start.
Clear and protect
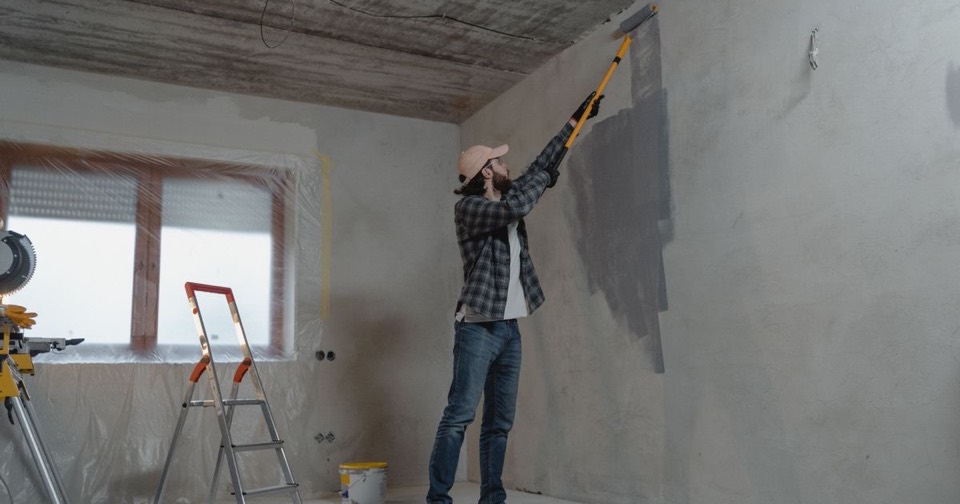
Move or cover furniture, protect the floor with drop cloths and remove switch plates. Apply masking tape to the trim you are not painting.
Clean
Dust and wash the surfaces, especially in kitchens and near switches, where grease and fingerprints hurt adhesion. Let everything dry completely.
Repair and sand
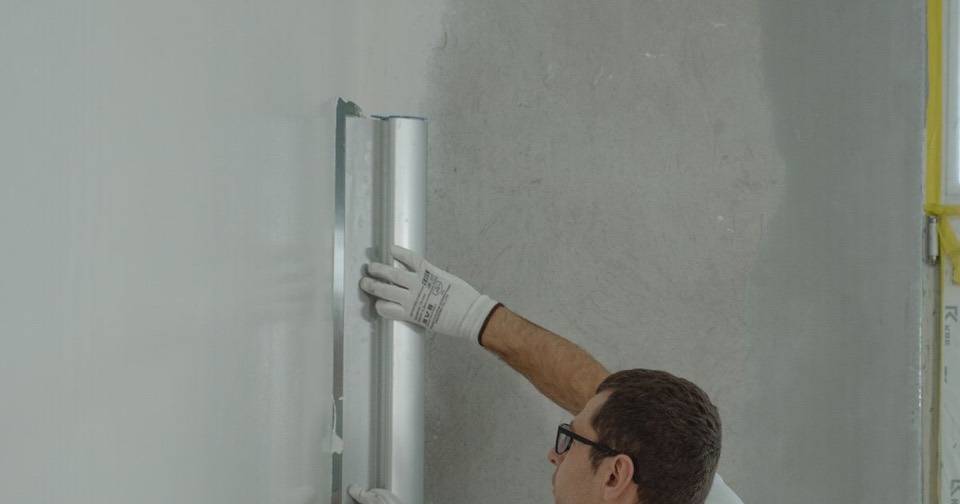
- Fill holes and cracks with joint compound.
- Sand the repairs smooth.
- Lightly sand glossy surfaces to help adhesion.
- Dust off after sanding.
Prime where needed
Prime repairs, new surfaces, stains and any strong colour change. An even surface gives an even finish.
A safety reminder
In a house built before 1990, existing paint may contain lead. Have it tested before sanding or scraping.
Frequently asked questions
- Should a wall be washed before painting?
- Yes, especially if the surface is greasy, dusty or touched often. Paint bonds poorly to a dirty surface.
- How long does preparation take?
- It often takes as long as the painting, sometimes longer if the walls have many flaws.